Beginner's guide to painting 15mm WWII figures
Part 1
Getting Started
Before we start, I thought I’d better come clean and say that I’m not the world’s best painter. But Chris suggested that I write a beginner's illustrated guide to help all those people who’ve never painted anything before or who, like me, are returning to figure painting after a break.
This is a very simple guide to painting figures to a table-top or wargaming standard (example). I won’t be using any complicated methods or elaborate materials. Like most people I guess, I want to get a lot of figures painted to a reasonable standard as quickly as possible. I also like them to be as historically accurate as I can manage without being too obsessive about it.
The figures - You have to be an artist at heart, to drive a tank
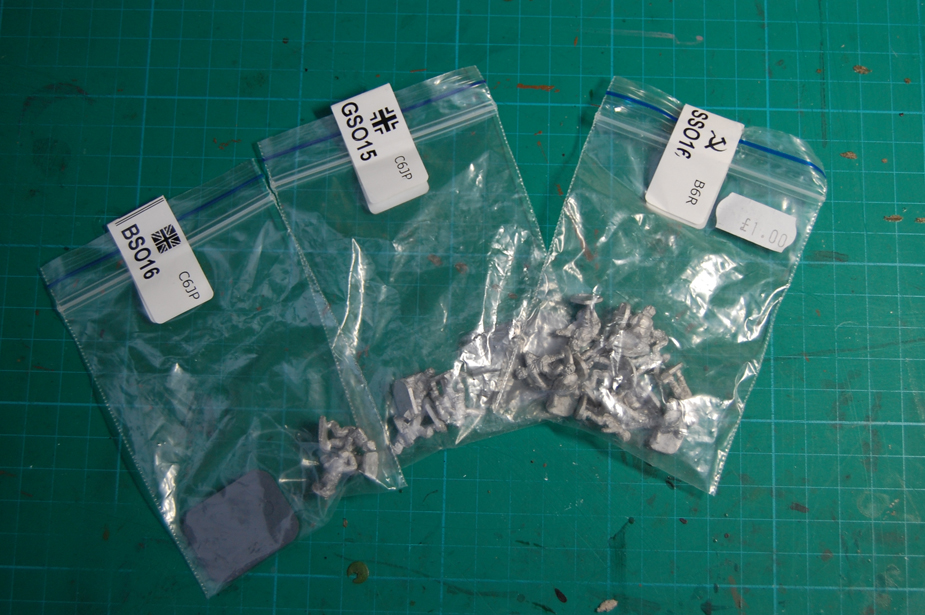
For this article, I thought I’d start with something easy and paint up some dismounted tank crews as bailed out markers. Battlefront used to include these figures in their older British, German and Russian tank company boxed sets or as special orders.
Nowadays, I’ve been able to pick them up occasionally on ebay where you can expect to pay anywhere up to a fiver. Alternatively, and at the time of writing, Clifton Road Games in Exeter still stock some British and Russian crews.
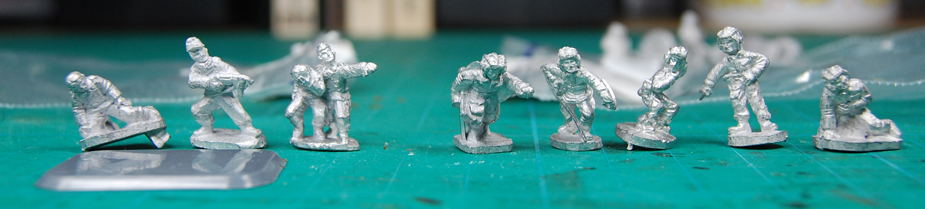
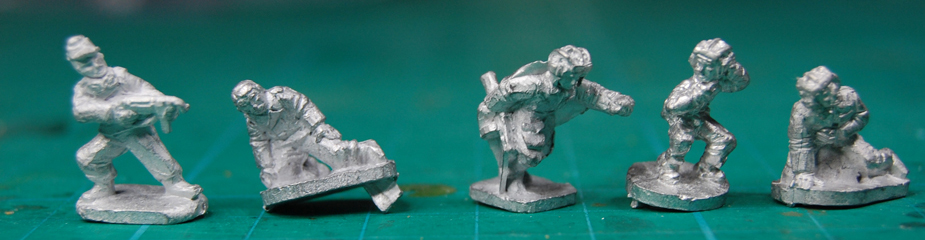
As Chris and I currently game on the Eastern Front, I’ve selected the German and Russian packs. The German pack contains 4 nicely sculpted figures in uniforms typical of tankers from Mid- to Late War. The Russian pack includes 5 different models depicting crews between 1941-5.
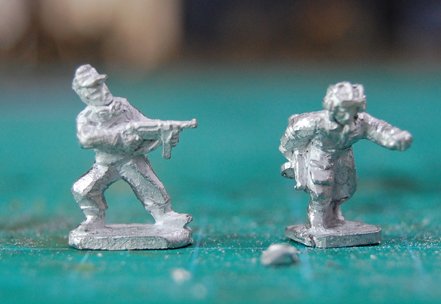
My favourite is the chap tear-arsing off with his PPsh.41 machine pistol.
Planning and preparation
Before I start planning, I like to get hold of some reference material.
There’s nothing worse than labouring over a paint job only to have your opponent comment that your troops’ belt buckles are not historically accurate.
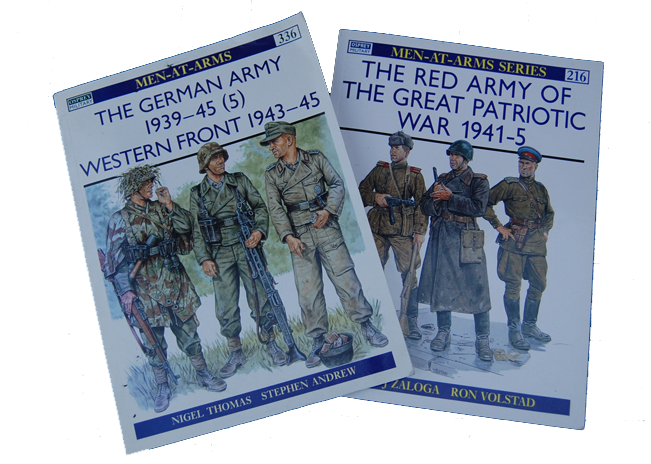
More often or not, when I buy a new range of figures I like to treat myself to the relevant Ofsprey Men-at-Arms book.
I know some people moan about this series, but for me they contain a representative quantity of beautiful plates that cover alot of ground in a short amount of space.
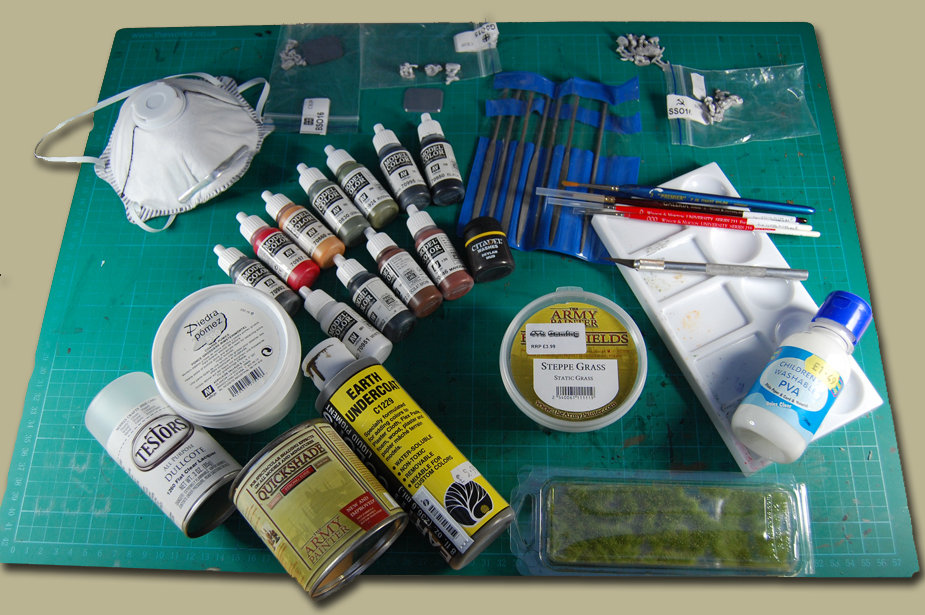
To paint these crews you will need:
- A set in needle files and a scalpel for trimming off the flash (excess metal) and mould lines
from casting
- Paint brushes and a pallet – I’ve bought mine from a posh art shop. I tend to use Windsor and Newton brushes which are very good quality (love those white bristles), sizes 3 (general purpose painting), 0 (fine work) and 000 (very fine work)
- Paints – I like Vallejo acrylic (water-based) paints, they’ve a high pigment which ensures good coverage and the colours are authentic, e.g. 830 German Field Grey WWII. I also use Citadel washes which cover well
- PVA glue - useful for mounting your figures on bases at the beginning as well as gluing your scenic flock on at the end
- Army Painter’s Quickshade dip – more about this later
- Testors’ dull-cote and B and Q face-mask – a very, very matt varnish or lacquer that’s quite potent when inhaled
- Vallejo pumice stone – wonderful for scenic bases
- Woodland Scenic’s Earth undercoat for painting your scenic bases
- Army Painter’s static grass and some silfor grass products to show off with at the end
I forgot to mention light. I paint in the evenings when natural light is very poor. I use 2 lamps, but the most effective is Maplin’s 22W Fluorescent Daylight Magnifier Lamp. I don’t like the 1.75x magnifier, but I’m told it’s quite useful for the more short-sighted painter!
Right, before we start, most of the figures I’ve selected to paint need cleaning up. If you look closely you’ll see that there’s some unsightly flash on the base of 1 of the German crew and alot around the PPsh.41 held by the Russian tanker. Most of the figures have mould lines clearly visible. These flaws will show up more in the final paint job, particularly after an application of Strong Tone. Finally, note the bent barrel on the German MP40. I know they’ve bailed out, but I can’t have my chaps running around with defective weaponry!
I always start by filing the bases flat and then remove the flash with a very sharp craft knife. I then work the figure over with a rounded needle file to remove any remaining flash or mould lines. The curved edge of the file gets to work on the raised lines without removing too much of the detail and is very good at getting into all those hard to reach areas like under the arms or between the legs. I straightened the MP 40 by turning the figure upside down hooking my thumb nail under the barrel and gently prizing it up whilst supporting the top of the gun with my index finger so it doesn’t snap off.
With the figures cleaned up it’s time for a bath in a clean jam jar filled with warm water and washing up liquid to remove any outstanding mould agents, metal filings, grease or grime. A quick polish up with an old tooth brush, a rinse in clean water and a blow dry and we’re ready to base up for priming.

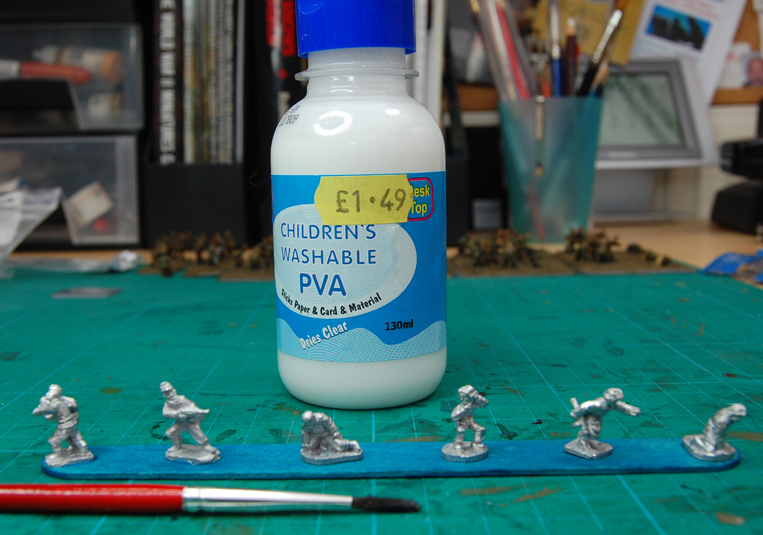
Normally, I’d glue my figures on 1cm x 1 cm squares of card, but I’m currently experimenting with painting figures on my son’s lolly-pop craft sticks.
If you’d like to try this method remember not to use too much glue and position the figures a fair distance apart so that you can paint them all effectively.
With that done, we’ll leave the glue to dry and reach for the primer and paints in the next article.
|