Finishing a Late War T34/76 obr. 1943
Part 3 of 4
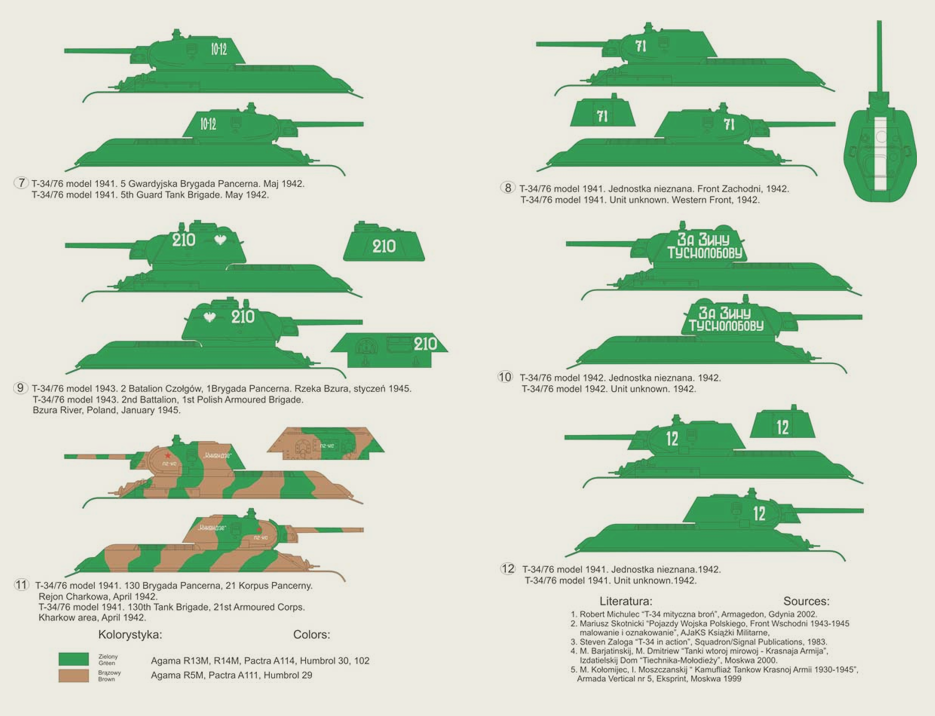
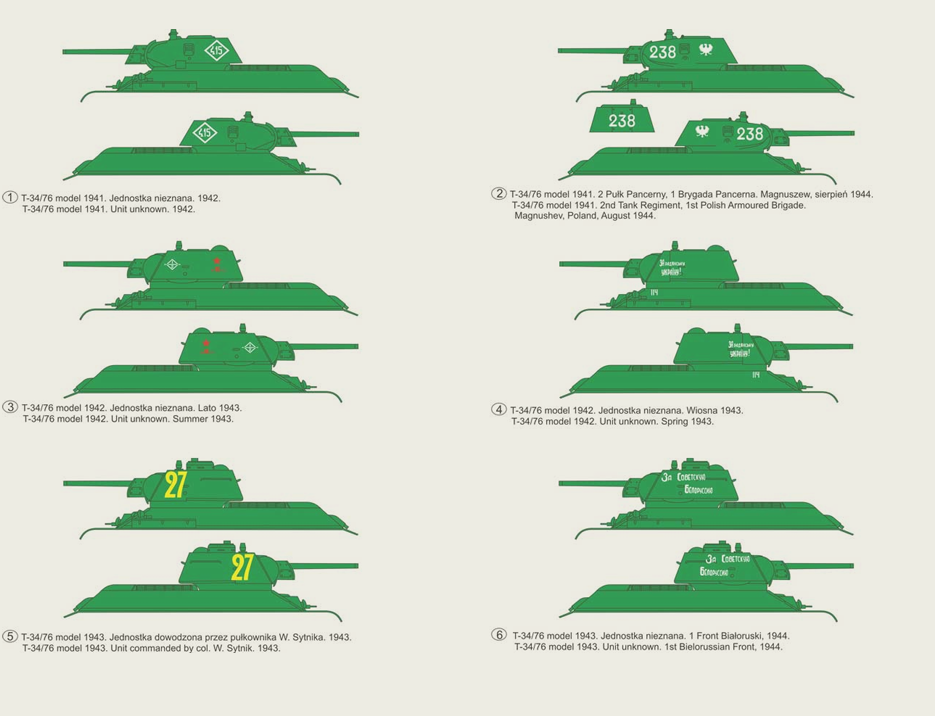
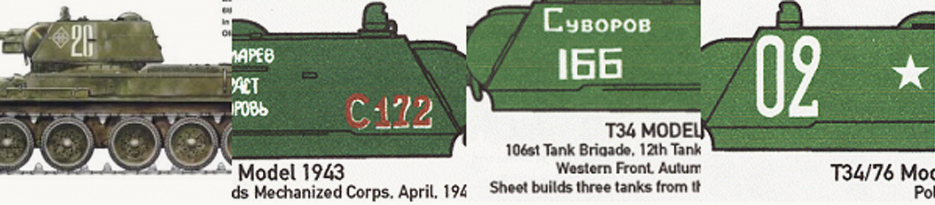
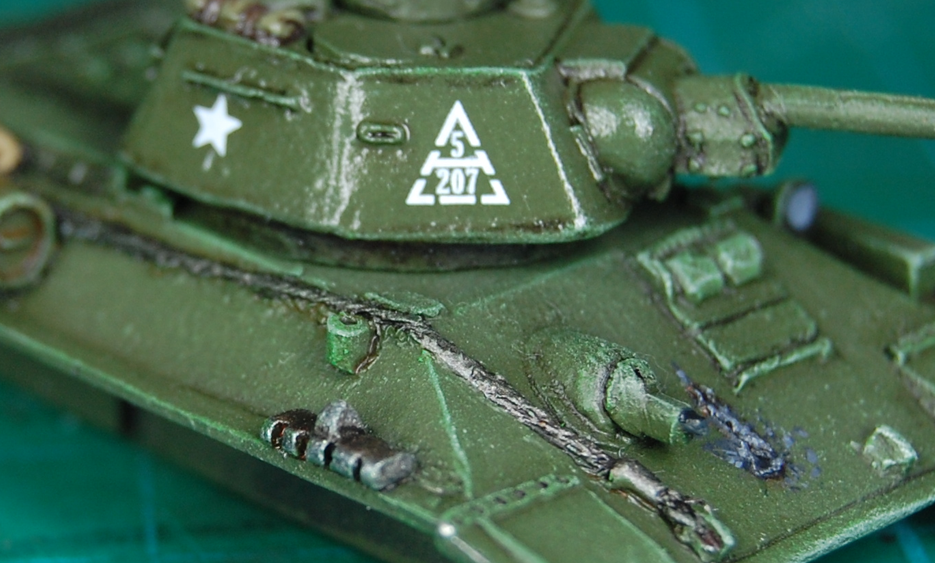
A short trawl through the relevant literature reveals that Soviet AFV turret markings are not as well understood as I would like. Nevertheless, trends can be observed. Contrary to popular misconception, the red star was rarely used on wartime tanks. More often than not, turrets were simply adorned with wither a 2-, 3- or 4-digit tactical number (see below). In some cases, this was accompanied by a patriotic slogan and / or a unit marking, commonly a geometric shape:
In light of this research and consideration of the size of the decals provided as well as the sculpted vision slit, I’ve opted to decorate my turrets with a unit symbol, a couple of white stars and a slogan. I don’t want to overdo it here as I plan to include 2-digit tactical numbers and unit symbols on my T34/85s. In applying the decals, I’ve not done anything complicated.
The application of gloss varnish should limit the amount of ‘silvering’ observable (‘silvering’ is likely to occur if you put your decal on top of a matt painted surface because the decal film can’t conform to the microscopically rough surface of matt paint). I just cut up the decals I want, give them a soak in warm water until they becoame loose and use a soft paint brush and tweezers to brush them onto the turrets.
A little time was spent aligning them using plenty of water which was removed through the careful application of kitchen paper. One of the decals broke up during application (DON’T PANIC Mr. MANNERING! DON’T PANIC), but I was able to sort out the pieces through careful brush work and align them again so that you wouldn’t really know anything had gone wrong (phew…).
After giving the tracks a coat of Dullcote, I’ve washed them with a MIG P414 Track Brown pigment mixed with Thinner for Washes. Once dry, I wet my thumb and finger and drag across the tracks to uncover the original gun metal paint. I like the effect it creates:
owever, progress is shortlived once I try and weather further. I’m not used to working with pigments and I fall right into the trap of doing to much and obscuring some of the detail I’ve worked hard to highlight:
Exasperated, I attack the pigment with a damp piece of kitchen paper and then brutalise it some more with cotton buds! The benefit of having applied the pigment with thinner is that it can be rubbed off with a little effort. But I’m still not happy with the final result…perhaps I need to work from a guide?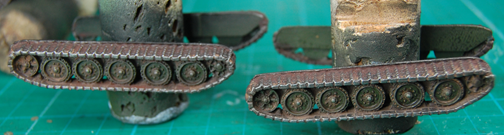
|